
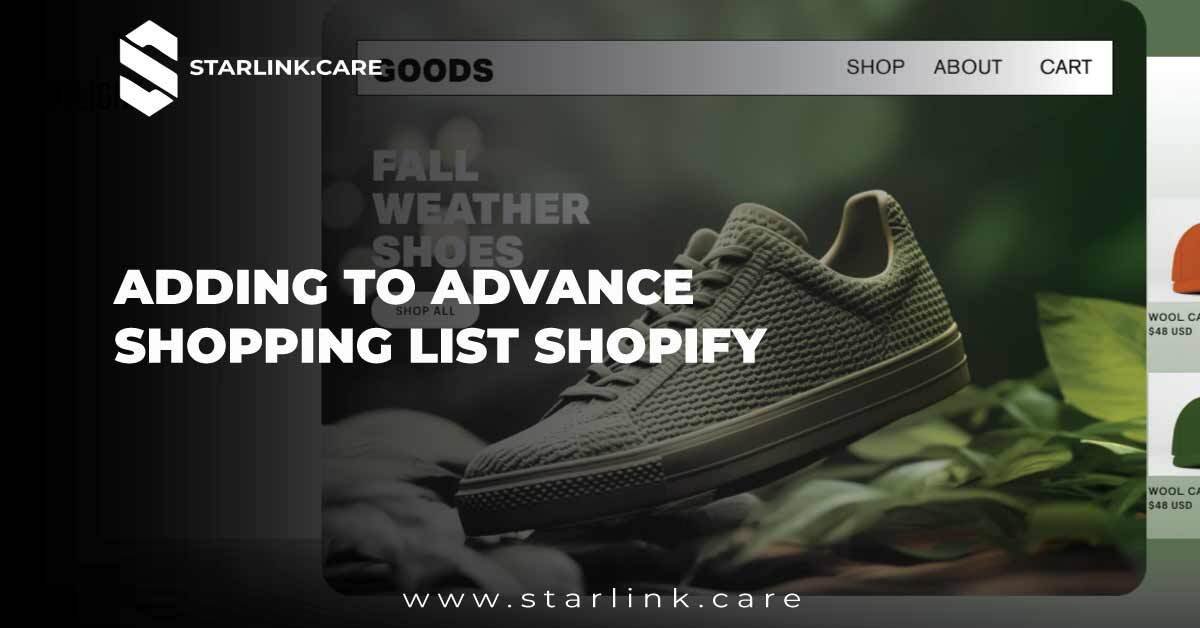
How to Adding To Advance Shopping List Shopify Store
When it comes to running an online store, making the shopping experience as seamless as possible is key to boosting customer satisfaction and increasing sales. One powerful way to enhance this experience is by Adding To Advance Shopping List Shopify to your Shopify store. Whether you’re managing a bustling e-commerce site or a niche online boutique, integrating advanced shopping lists can streamline your customer’s shopping journey and make your store more engaging.
Adding To Advance Shopping List Shopify In this article, we’ll explore why advanced shopping lists are beneficial, how to implement them on Shopify, and provide a step-by-step guide to help you get started.
Why Adding To Advance Shopping List Shopify?
Imagine this: A customer finds a collection of products they love, but they’re not ready to purchase just yet. With a basic shopping list, they might lose track of these items or forget about them entirely. Advanced shopping lists, however, offer a more robust solution. Here’s why they can be game-changers for your Shopify store:
- Enhanced User Experience: Advanced shopping lists allow customers to save and organize their favorite items, making it easier for them to return and complete their purchases.
- Increased Sales Opportunities: By allowing customers to save items for later, you keep your products on their radar, which can lead to higher conversion rates.
- Better Customer Insights: Shopping lists provide valuable data on what items are popular, helping you make informed decisions about inventory and marketing.
How to Add Advanced Shopping Lists to Your Shopify Store
Adding To Advance Shopping List Shopify to your Shopify store can seem daunting, but with the right tools and guidance, it’s quite manageable. Here’s a step-by-step guide to help you integrate this feature seamlessly.
1. Choose the Right App
The first step is to find an app that supports advanced shopping lists. Shopify’s App Store has several options that can help you add this functionality. Here are a few popular choices:
- Wishlist Plus: This app allows customers to create wishlists, share them with friends, and receive notifications about their saved items.
- Swym Wishlist Plus: A robust solution for creating and managing wishlists, with features like social sharing and email reminders.
- WishList King: A user-friendly app that offers wishlist management and integration with your store’s existing layout.
2. Install and Configure the App
Once you’ve chosen an app, the next step is to install it on your Shopify store. Here’s how to do it:
- Go to the Shopify App Store: Visit the Shopify App Store and search for the wishlist app you’ve chosen.
- Click on ‘Add App’: Follow the prompts to add the app to your Shopify store.
- Configure the Settings: Each app will have its own set of configuration options. Typically, you’ll be able to customize the appearance of the wishlist button, set up notifications, and adjust other preferences.
3. Customize the User Experience
After installing and configuring the app, it’s important to customize the user experience to match your store’s branding and design. Here’s what you can do:
- Design the Wishlist Button: Customize the button’s appearance so it blends seamlessly with your store’s design. Most apps allow you to choose colors, shapes, and placements.
- Set Up Notifications: Configure email notifications to alert customers when items on their wishlist go on sale or are back in stock. This can encourage them to return to your store and complete their purchase.
- Integrate with Social Media: Allow customers to share their wishlists on social media, which can drive traffic to your store and increase brand awareness.
4. Test the Feature
Before going live, it’s crucial to test the advanced shopping lists feature to ensure it works smoothly. Here’s how to do it:
- Create a Test Account: Set up a test account and add items to your wishlist to see how the process works from a customer’s perspective.
- Check Notifications: Verify that all notifications are being sent as expected and that the email templates look professional.
- Review the Design: Make sure the wishlist button and other elements are displayed correctly on both desktop and mobile devices.
5. Promote the New Feature
Once everything is set up and tested, let your customers know about the new feature. Here’s how to promote it:
- Update Your Website: Add a banner or announcement on your homepage to inform visitors about the new wishlist functionality.
- Send an Email Campaign: Reach out to your existing customers with an email campaign highlighting the benefits of the advanced shopping lists.
- Leverage Social Media: Use your social media channels to spread the word and encourage users to try out the new feature.
Benefits of Advanced Shopping Lists
Integrating advanced shopping lists into your Shopify store can lead to several benefits:
- Increased Customer Retention: By allowing customers to save and organize their favorite products, you encourage them to return to your store.
- Higher Conversion Rates: Saved items mean that customers are more likely to complete their purchase later.
- Improved Customer Insights: Gain valuable data on what products are most popular among your customers, helping you tailor your marketing and inventory.
Conclusion
Adding To Advance Shopping List Shopify to your Shopify store is a fantastic way to enhance the shopping experience for your customers. By choosing the right app, configuring it properly, and promoting the feature effectively, you can boost customer satisfaction and drive more sales. If you haven’t yet explored this functionality, now is the perfect time to start.
Ready to get started? Explore the options available in Starlink and take the next step in optimizing your online store.